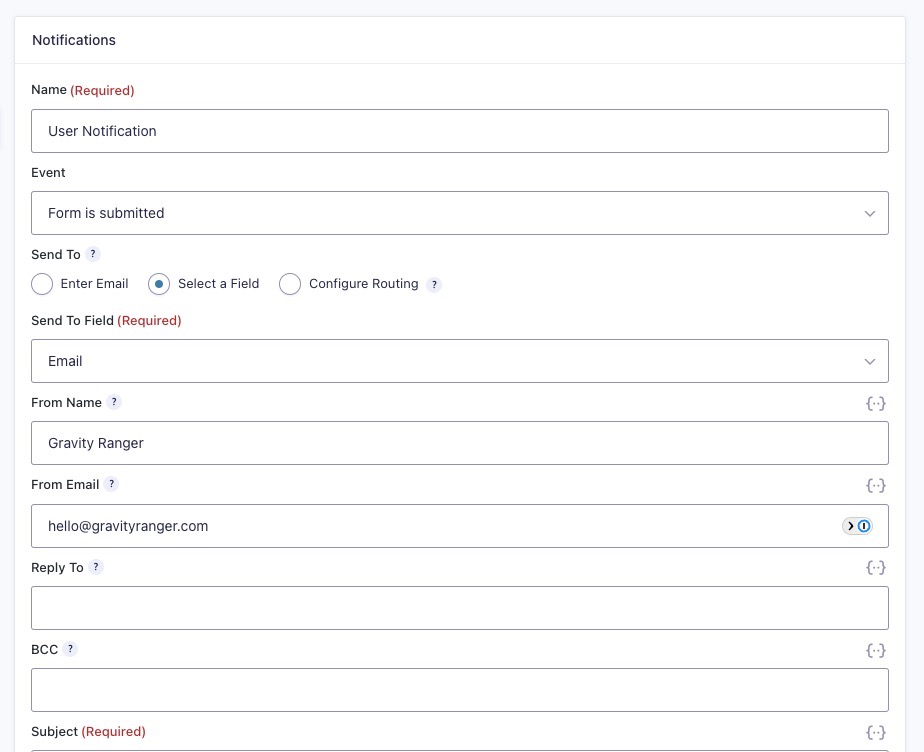
When you create a form with Gravity Forms it automatically creates an Admin Notification. When it creates this notification, it sets the TO and FROM email address as the WordPress admin email address listed in the WordPress General Settings using the {admin_email} merge tag.

This can be problematic for a couple of reasons:
- If your admin email is not a valid email address, meaning one that uses the same domain as your website domain, it can eventually cause issues with spam filters affecting email deliverability.
- Using the same TO and FROM email address is not recommended because it too can lead to deliverability issues.
- If you have several forms on your website and changing each notification will be time-consuming.
I recommend reviewing this Gravity Forms help doc to ensure you use best practices when setting up your notifications.
There are a couple of ways to address this. I’ll go through each of them from the easiest option to the more complicated.
Option 1: Change the WordPress admin email
This is the simplest solution, but it does not resolve all of the potential issues listed above. Specifically number two, your notifications will still be using the same TO and FROM email address.
To change the WordPress admin email address use the steps below:
- Go to your WordPress admin
- Go to Settings > General
- Change the email address
- Click Save Changes
- Go to your inbox and verify the change

Option 2: Manually edit the notifications
You can go through each of your forms and modify the Admin Notification, and if you only have a couple of forms this might be the most ideal solution. However, if you have dozens of forms, or manage several clients’ websites this can be overly time-consuming and tedious.
To edit the email directly in the notification settings, follow these steps:
- Go to Forms > Forms
- Hover over Settings for the form you want to edit then click Notifications
- Click Edit for the Admin Notifications
- Remove the {admin_email} merge tag for the TO and FROM fields
- Replace it with the email address you’d like to use
- Click Update Notifications
Keep in mind, you want to use a different TO and FROM email address and you will want the FROM email address to use the same domain as the website domain.

Option 3: Use a code snippet to override the settings
I have provided the code snippet you need below, but it will require some modifications which I will walk you through.
This solution might be more useful for someone that needs to modify several notifications or will be creating several forms and don’t want to manually change every Admin Notification.
This will apply to all forms, ones previously created and new ones.
You will need to place this code in your themes functions.php file or use a code snippet plugin like WPCodeBox.
Follow the steps below to modify the code above:
- Copy and add the code to your site
- Add your TO email address on line 12, replacing email@example.com
- Add your FROM email address on line 13, replacing email@example.com
- Save the changes
The Wrap Up
You might be thinking, one and two were kind of obvious, but I know there are new users who have no idea how these things work, so I wanted to make sure to cover the basics.
If you need help with any of these options, feel free to reach out using the comments below.


