In this tutorial, I want to address a recent request from a Gravity Forms user who wanted to link several buttons on their page to individual radio button choices.
What is the use case?
In this case, the user’s page had a pricing table with three different tiers and price points.
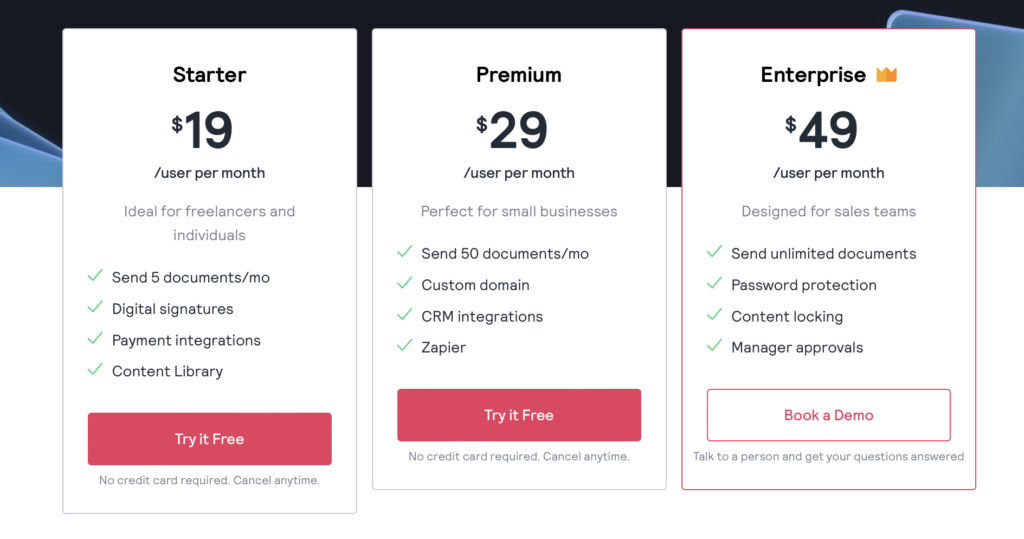
They then had a Gravity Forms form on the same page, just below the pricing table, with a product radio button field with a choice for each tier and price.
They wanted the user to be able to click one of the buttons on the pricing tier and have it select the corresponding choice in the form.
Your Options
You technically have three options, maybe more, but three is what I was able to come up with for this use case.
I will quickly explain each option and address its pros and cons as they relate to this specific use case.
#1 Dynamic Population
Because Gravity Forms already supports dynamic population, using a URL query string and parameters, this was my obvious first thought.
With this option, you can add a query string to the button URL and enable the dynamic population feature for the product radio button field. When the user clicks that button, the page will reload, and the choice will be selected.
The disadvantage of this approach is that the button and form are on the same page, and if the form is towards the bottom of the page, you’ll have issues with the page reloading and the user not seeing the form without scrolling down the page again. It’s a bad user experience.
#2 Enhanced Choices Add-On
This is a relatively new add-on from Jetsloth, but essentially, it makes it very easy to create awesome pricing tiers using the radio button and checkbox fields directly in your form.

The disadvantage of this option is really just a matter of preference. It might not fit with your site design, and you may prefer to have the pricing tiers on the page instead of in the form.
It also does not address the direct issue, in that it does not have any additional benefits of linking the buttons on a page to the choices in the form.
#3 Custom JavaScript
This approach might be limiting for someone who doesn’t know how to create custom code, but I’ve done the hard work and have provided a code snippet below that you can use.
In this solution, we use the code to make the selection in the form when a button is clicked using a CSS class and the field choice value.

I use the block editor to implement this, so implementing the CSS class may require different steps if you’re not using the block editor.
In the video below, I will walk you through the implementation of this solution and how to modify the code.
The code Snippet
The Wrap Up
Now, you have three different approaches to link a button to a specific field choice in Gravity Forms.
You can use whichever one best fits your use case and needs. If you have any questions, feel free to post them in the comments.
