Live events and webinars are powerful ways to connect with your audience, but hosting them directly on your WordPress site comes with one big challenge: how do you keep the page secure so only registered attendees can view it?
In this tutorial, I’ll show you how to use Gravity Forms with a few Gravity Wiz perks to create a secure digital broadcast page. Attendees will register (and optionally pay), receive a unique ticket number, and then use that ticket to unlock the live event page.
By the end, you’ll have a system that ensures only paying or registered users can access your broadcast.
Tools You’ll Need
- Gravity Forms (Pro or Elite license if charging for the event)
- Unique ID (for ticket numbers)
- Submit to Access (to lock down your broadcast page)
- Notification Scheduler (for scheduled reminders + access email)
- Inventory (to limit available tickets)
- A payment add-on (Square, Stripe, or PayPal)
Optional but recommended: WPCodeBox or other code snippets plugin for easy code management.
Step 1. Build Your Registration Form
Create a new form called something like “Event Registration” and add the following fields:
- Name
- Phone
- Unique ID field → this generates a ticket number (e.g., prefix: WC25, length: 8).
- Product field (General vs VIP tickets) with pricing.
- Payment field (Square, Stripe, or PayPal).
- Total

As part of the setup for this form, we will need to use the Inventory perk to control how many tickets are available per ticket option.
- Enable
- Add quantity to the product field options

Step 2. Configure Payment & Notifications
- Set up your payment feed to process ticket purchases.
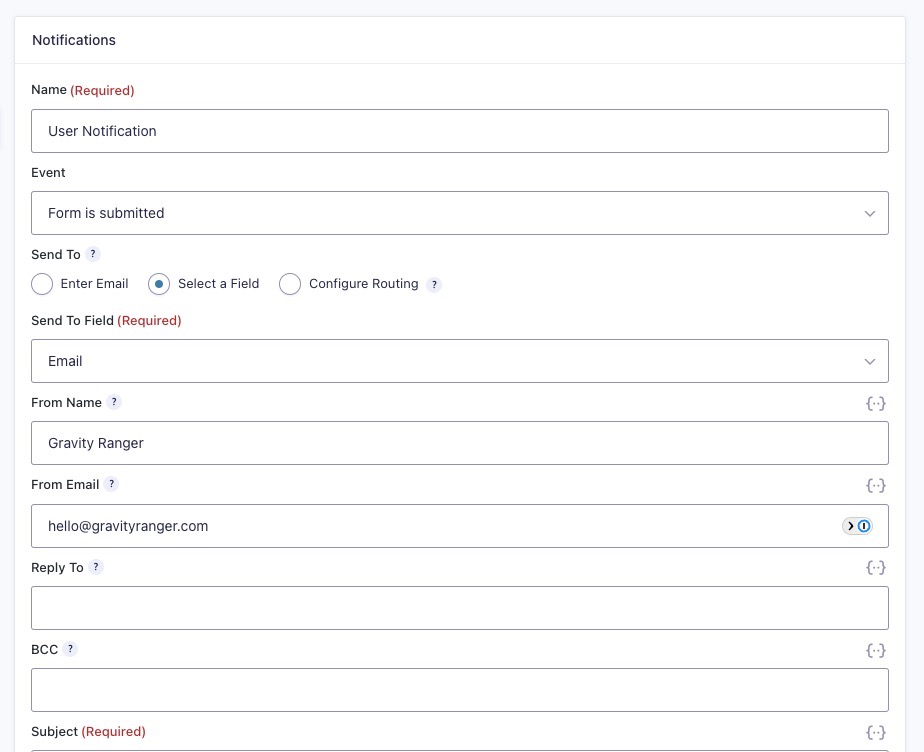
- Use Notifications to send an email to attendees with their ticket number and a link to the event access page.
- Example: Send an email the day before and again the morning of the event (using Notification Scheduler).

Step 3. Build Your Access Form
Create a second form called “Event Access” with the following fields:
- Name
- Ticket Number (single line text field).
This is the form connected to the Submit to Access add-on that the users must complete before viewing the broadcast.
Step 4. Add Ticket Validation
To prevent fake ticket numbers, use a code snippet from Gravity Wiz to validate the ticket number.
This snippet checks if the ticket number entered in the access form matches one generated in the registration form.
- Add the snippet to your functions.php or a code snippet plugin.
- Update the form IDs and field IDs so it matches your forms.
- Now, only valid ticket numbers will grant access.
Step 5. Set Up the Broadcast Page
- Create a page where your live event will stream (e.g., embed a YouTube Live link).
- Enable Submit to Access on the page.
- Select the Event Access form as the gatekeeper.
- Add a message telling users they need to enter their ticket to join.
- Choose access duration (forever, for replays, or limited time).
When attendees visit, they’ll see the access form. Once validated, the page content is unlocked.
Demo in Action
- A user registers and pays.
- They receive an email with their ticket number and event link.
- On event day, they enter their ticket into the access form.
- If valid → they join the event page. If invalid → access denied.
Other Use Cases for Submit to Access
While this tutorial covers a digital broadcast, the Submit to Access add-on is flexible enough for many scenarios. Here are some creative ways you could use it:
- Members-Only Content
Lock down premium blog posts, videos, or downloads. Require users to complete a form (opt-in or paid) before accessing. - Exclusive Resource Library
Offer a library of templates, tools, or files. Gated by a simple form submission or even tied to a subscription plan. - Course Lessons or Training Material
Instead of giving access to all course content at once, require a form completion (quiz, survey, or payment) before unlocking each lesson. - Client Portals:
Protect client reports, project updates, or private dashboards behind a validation form. - Special Promotions & Giveaways
Create a “hidden” page where the form submission unlocks coupons, bonus downloads, or entry into a giveaway.
The Wrap Up
The Submit to Access add-on turns Gravity Forms into a powerful content gatekeeper. When combined with perks like Unique ID, Inventory, and Notification Scheduler, you can create a seamless system for webinars, premium content, or client-only areas.
Whether you’re hosting a live event or protecting valuable resources, this approach ensures access is only given to the right people.


